Wednesday, September 17, 2014

VAS Spark Beta Build

My friend Chase showed me Video Aerial Systems' new Spark mini FPV plane and asked if I wanted to be in on a group buy of the beta version. After having so much fun with the Specter, I really couldn't refuse..


I didn't paint my Specter, so before I could even get an unboxing pic, I had already painted the wing tips..

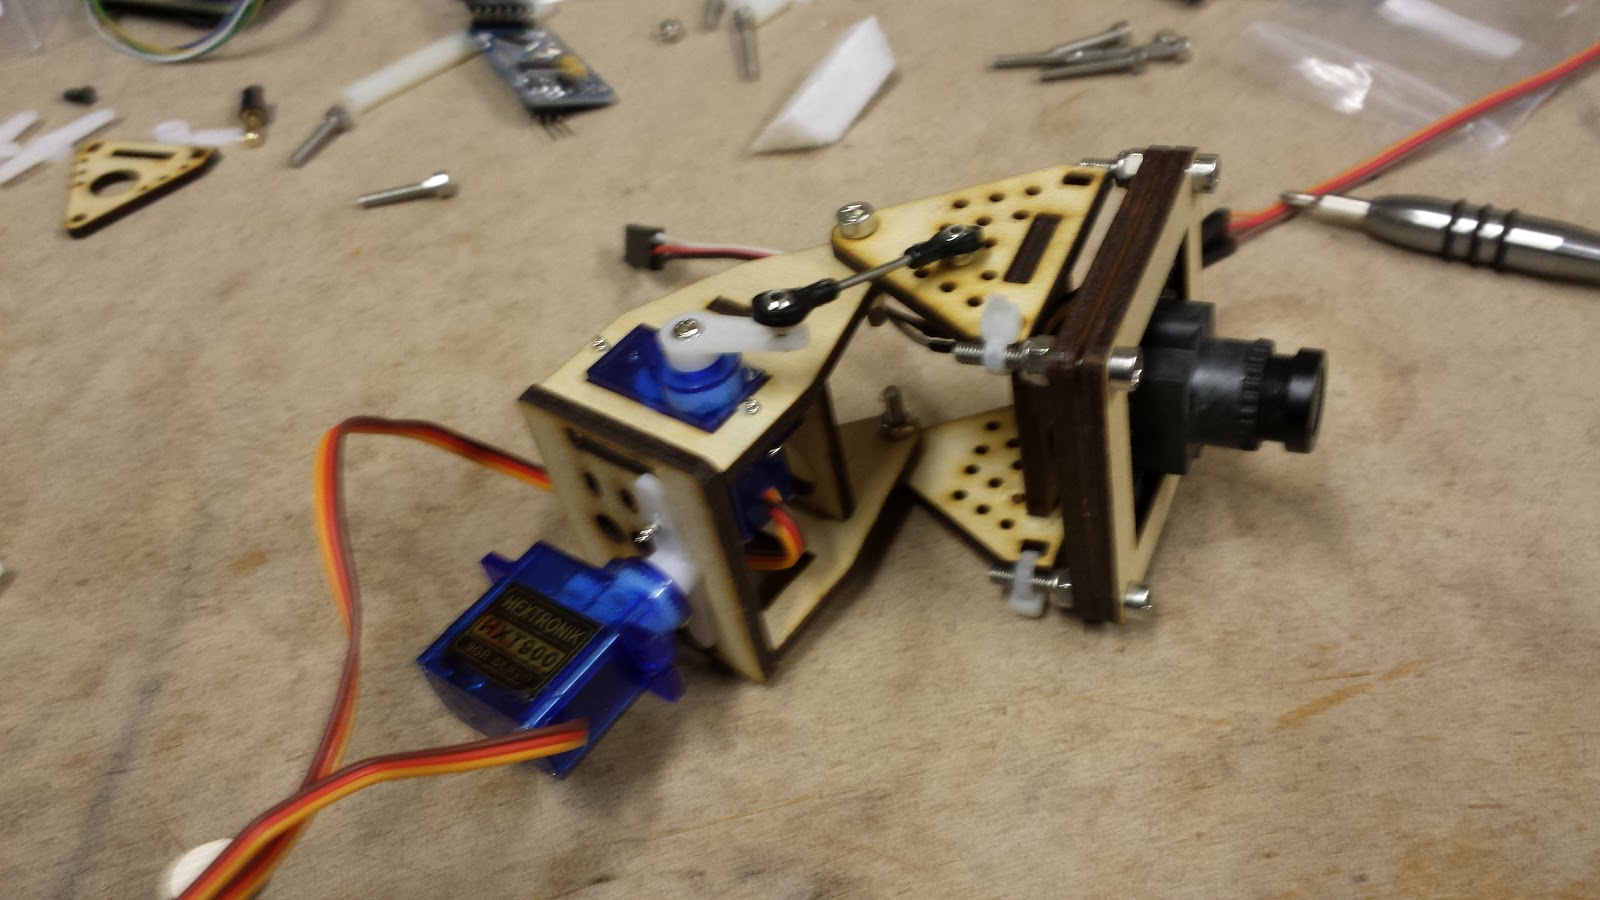
These are the electronics in the kit I got. Emax GT2205/22 1660 kv motor, 12Amp ESC, and 2 tiny  ES08A servos.

I had noticed the wing tips weren't quite symmetrical..  easy fix..

I wasted a bunch of tape.

 But I think it turned out nice.

I tried to waste less tape painting the fuselage by using an old 3DR packing list.

It seemed to work...


My wing tips didn't go on as precisely as I wanted. You only get one shot when you use the contact cement as directed!

Laying out the spars. They weren't included, but I had some ~1/8th in carbon laying around and want this guy to be really strong. The jagged trailing edge resulted from test fitting the wing before lamination :(

Laying in the spars. I decided to add a spar to the tips for more strength, though probably overkill..

 Now time to laminate.

Thought I could to the whole wing at once. Decided I didn't want to deal with this.

 Cut the tips off and proceeded with wrapping.

I laid down the back around to the bottom first then brought the laminate around front to overlap a bit.

Did the tips separately.

But in the same process.

On the edges I trimmed the laminate and folded over the bottom then top.

For strength across the gap I added an extra strip.

 Same for the bottom.

 The best way to cover the fuse seems to be to use one sheet on both sides and trim at the edges.
Then wrap longways with a strip that overlaps the sides by an inch or so, cutting slits to make it work around the curves.

A good press with the iron makes these seams practically disappear

I didn't have a pen around so I wasted more tape to help me align the wing before gluing.

I cut a notch in the back to give a little support and guidance to the tail feathers.

Laminated and glued.

Test fitting the motor showed some of the wires being crushed. Dremel fixed that.

Trying to determine the electronics placement for CG.

Now time to cut the battery bay!

Battery bay, camera and vTx mounts cut.

Servo cutting and installation.

I decided I better add a spar down the middle..

 The 5x3 Gemfan prop didn't want to fit properly with the included o-ring. Luckily I had a 5x3 HQ prop that fit using a piece of Theraband.

I couldnt let well enough alone and had to highlight the engraving on the tail...

I'm not sure I like all of the velcro, but the Spark is essentially ready to fly! I still need to make a few final changes (mostly cleaning up and adding an OSD), but hopefully I can get it in the air soon...


Tuesday, August 5, 2014

VAS Specter V3 From Build To Maiden

My go-to plane for FPV has been my Bixler 2. It was my first FPV plane and after every crash has only evolved. I have been wanting to make some further modifications to it that may take it out of commission for a while, so I have been loosely in search of another FPV platform.

About a month ago I got a text from a friend who knew this saying he could get a deal on a video Aerial Systems Specter V3. That's when the adventure began.

For the last month I have been building the thing. I've been spoiled on the FliteTest construction method using hot glue and foam board, so I found the new method of glueing and laminating hotwire cut foam a bit awkward at first. Having only half of the video instructions online didn't really help either..

So I decided I better get my build log out there in case it may help some others along..

All of the parts were there! Woot!

After smashing the blind nuts too hard into the plywood pieces for the wing mount, I gave up and decided just to glue the wing on. This is about where the instructions ended.


Laminating then gluing the booms to the tail was probably not the best next step to take because somewhere some deformation occurred...

After waiting for the glue to dry I found the horizontal stabilizer to be at a slight angle/curve when compared to the wing :(

Getting a little antsy, and coming across some bright orange tape I added some color and laid out the electronics Only to realize that the wiring would be much better in the foam

Which I again got carried away with and took a chunk out where I thought my receiver might go before checking the lengths.

Filling the gap and re-laminating over wasn't a big deal though. I placed the servos in front of the spar thinking that may help slightly with the extreme tail heaviness the plane seemed to have.

With the servos farther forward I wasn't sure if the supplied allthread would work so I decided to use my own control linkages.

In the middle of contemplating further setup, I threw up the old projector screen and setup my new chrome cast at the hopefully soon to be makerspace...

After a bit of over analysis, I finally decided on a mount for the ESC and fpv equipment.

That same friend, who has not finished his Specter, Invited me out to his farm to get some FPV flying in. I decided this would be a great time for a maiden flight but brought the Bixler just in case it didn't go so well. We thought a group shot / 'before' picture would be a good idea too.

For some unknown reason my mobius decided it dxid not want to cooperate, so we had to engineer a gopro mount. We did not have duct tape, bubblegum or bailing wire handy, but a bag of rubber bands did turn up.

I'm a bit apprehensive of the spinning blades after an incident with my tri-copter, but luckily Chase is a nice guy and helped me to get the bird in the air instead of flying himself.

Once in the air all was relatively good and I came back down in one piece.


After all of the tinkering we only had time for one more (16ish minute) flight to follow each other around. A few more tweaks and I think this will be a very fun plane!

Thursday, May 1, 2014

6 month evolution of the Bixler 2


It's been a while since I last posted. Much has happened, especially with the Bixler 2. Previously I had just FPV'd the Bixler and had been bitten by the bug of fixed wing FPV. Especially the flight times and overall more relaxing experience.


So my first mod was to add a better way to mount items for experimentation.


This turned out to be a really clean look, and worked very well for FPV, even holding 3 cameras.


Until I got cocky... Inverted flight, stock motor, improper balancing... A recipe for a new challenge -a rebuild!


The laser cutter and hot glue gun made the rebuild so much more fun!


With new options for mounting, I decided to experiment some more as well..


After another great landing I had stripped the servo gears for the camera tilt, but pan still worked and flights were generally good.


Eventually I decided I wanted more information on my ground-station as well as to experiment with a flight controller on a plane. So I purchased a cheap APM clone and redesigned the fuselage mount to allow easy access to the room inside.


Adding and moving things around really changed the CG, so I created a lower deck for the battery. This increases my options for larger batteries as well as extra room in the nose.


I have yet to fly this setup yet due to the recent crazy wind. With all this extra drag and weight it'll be interesting to see how it handles. Though I think it would be cool to get up above one of these dust storms..

I plan to squeeze as much life out of the Bixler 2 as I can. In the near future I can foresee a motor upgrade, moving the servos back, and heavy modification of the tail boom (steerable, CF arrow shafts?).

More LED's are definitely on the list too!