Showing posts with label rebuild. Show all posts

Thursday, May 1, 2014

6 month evolution of the Bixler 2


It's been a while since I last posted. Much has happened, especially with the Bixler 2. Previously I had just FPV'd the Bixler and had been bitten by the bug of fixed wing FPV. Especially the flight times and overall more relaxing experience.


So my first mod was to add a better way to mount items for experimentation.


This turned out to be a really clean look, and worked very well for FPV, even holding 3 cameras.


Until I got cocky... Inverted flight, stock motor, improper balancing... A recipe for a new challenge -a rebuild!


The laser cutter and hot glue gun made the rebuild so much more fun!
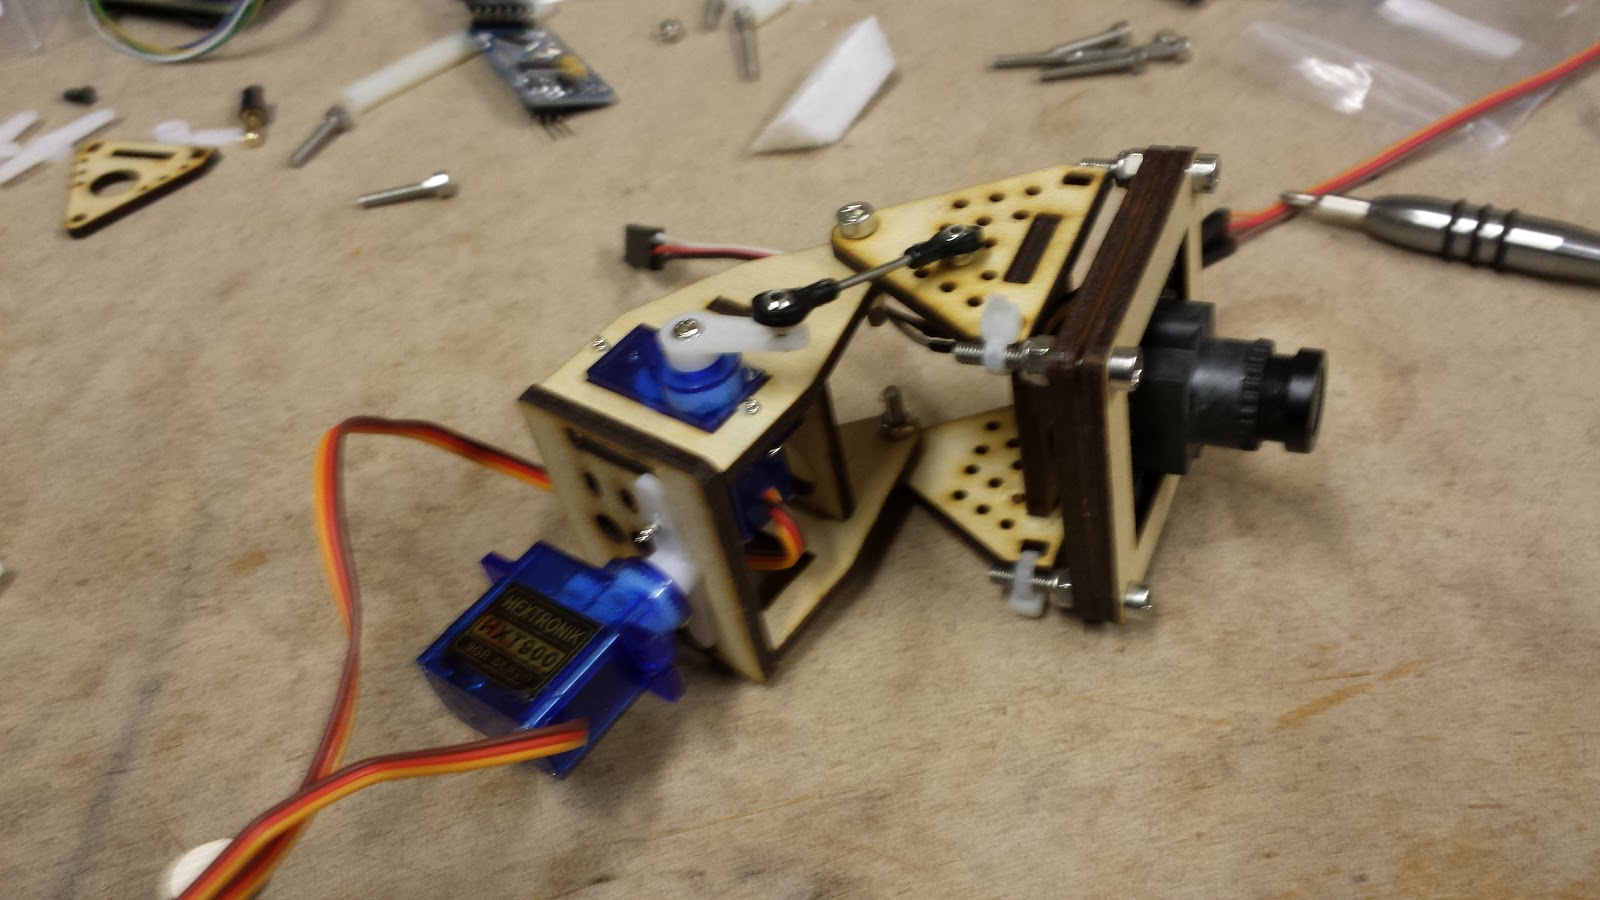

With new options for mounting, I decided to experiment some more as well..


After another great landing I had stripped the servo gears for the camera tilt, but pan still worked and flights were generally good.


Eventually I decided I wanted more information on my ground-station as well as to experiment with a flight controller on a plane. So I purchased a cheap APM clone and redesigned the fuselage mount to allow easy access to the room inside.


Adding and moving things around really changed the CG, so I created a lower deck for the battery. This increases my options for larger batteries as well as extra room in the nose.


I have yet to fly this setup yet due to the recent crazy wind. With all this extra drag and weight it'll be interesting to see how it handles. Though I think it would be cool to get up above one of these dust storms..

I plan to squeeze as much life out of the Bixler 2 as I can. In the near future I can foresee a motor upgrade, moving the servos back, and heavy modification of the tail boom (steerable, CF arrow shafts?).

More LED's are definitely on the list too!


Wednesday, September 18, 2013

Bixler 2 First FPV!


I finally got to get some FPV in on the Bixler2, but first I had to rebuild it.


I started trying to dig the spar I glued in out with an x-acto knife and quickly realized that wasn't the best way to do it. It occurred to me to try using some hanging wire I had laying around to get underneath and around the spar. This worked perfectly!


I needed to fill the gap I left after cutting out the spar, so I got out the hot knife and cut some extra material out of the box.


Using a scroll saw, I then roughly cut it in strips to fit the gap with the spar in.


My strips weren't quite long enough so I snapped some extra pieces off to fit. Then I quickly applied hot glue, pressed the strip in and removed the spar before the glue could stick.


After the glue cooled I went back and sanded everything down. Good as new!.. sort of!..


As I was contemplating how to fix things a previous hobbyking order came in with these landing gear and highly detailed instructions!


The tail wheel had to be offset a bit since the spar was already in there.


I tried to get the front gear in as sturdy of a place as possible without being too close to the CG


Next, I needed a motor mount. All I had was the stock motor, but want to upgrade in the near future, so I quickly drew up and laser cut this mount to allow me to easily get change out the motor.


I cut the foam where the mount was to be glued flat and glued it on, then also cut a flat spot for the ESC to velcro on, and a electronics bay of sorts to make more room in the nose.


It was getting late for flying so I quickly sealed the bay after putting the wings on with the stock wing screws. Removing the tubes and using velcro to attach the wings is on the list of future upgrades..


I taped on the FPV gear, stuffed this guy into my car, and hurried out to the flying field to give it a go..


I made it out just before it started to rain, and in time to catch some friends out at the field.