Tuesday, August 5, 2014

VAS Specter V3 From Build To Maiden

My go-to plane for FPV has been my Bixler 2. It was my first FPV plane and after every crash has only evolved. I have been wanting to make some further modifications to it that may take it out of commission for a while, so I have been loosely in search of another FPV platform.

About a month ago I got a text from a friend who knew this saying he could get a deal on a video Aerial Systems Specter V3. That's when the adventure began.

For the last month I have been building the thing. I've been spoiled on the FliteTest construction method using hot glue and foam board, so I found the new method of glueing and laminating hotwire cut foam a bit awkward at first. Having only half of the video instructions online didn't really help either..

So I decided I better get my build log out there in case it may help some others along..

All of the parts were there! Woot!

After smashing the blind nuts too hard into the plywood pieces for the wing mount, I gave up and decided just to glue the wing on. This is about where the instructions ended.


Laminating then gluing the booms to the tail was probably not the best next step to take because somewhere some deformation occurred...

After waiting for the glue to dry I found the horizontal stabilizer to be at a slight angle/curve when compared to the wing :(

Getting a little antsy, and coming across some bright orange tape I added some color and laid out the electronics Only to realize that the wiring would be much better in the foam

Which I again got carried away with and took a chunk out where I thought my receiver might go before checking the lengths.

Filling the gap and re-laminating over wasn't a big deal though. I placed the servos in front of the spar thinking that may help slightly with the extreme tail heaviness the plane seemed to have.

With the servos farther forward I wasn't sure if the supplied allthread would work so I decided to use my own control linkages.

In the middle of contemplating further setup, I threw up the old projector screen and setup my new chrome cast at the hopefully soon to be makerspace...

After a bit of over analysis, I finally decided on a mount for the ESC and fpv equipment.

That same friend, who has not finished his Specter, Invited me out to his farm to get some FPV flying in. I decided this would be a great time for a maiden flight but brought the Bixler just in case it didn't go so well. We thought a group shot / 'before' picture would be a good idea too.

For some unknown reason my mobius decided it dxid not want to cooperate, so we had to engineer a gopro mount. We did not have duct tape, bubblegum or bailing wire handy, but a bag of rubber bands did turn up.

I'm a bit apprehensive of the spinning blades after an incident with my tri-copter, but luckily Chase is a nice guy and helped me to get the bird in the air instead of flying himself.

Once in the air all was relatively good and I came back down in one piece.


After all of the tinkering we only had time for one more (16ish minute) flight to follow each other around. A few more tweaks and I think this will be a very fun plane!

Thursday, May 1, 2014

6 month evolution of the Bixler 2


It's been a while since I last posted. Much has happened, especially with the Bixler 2. Previously I had just FPV'd the Bixler and had been bitten by the bug of fixed wing FPV. Especially the flight times and overall more relaxing experience.


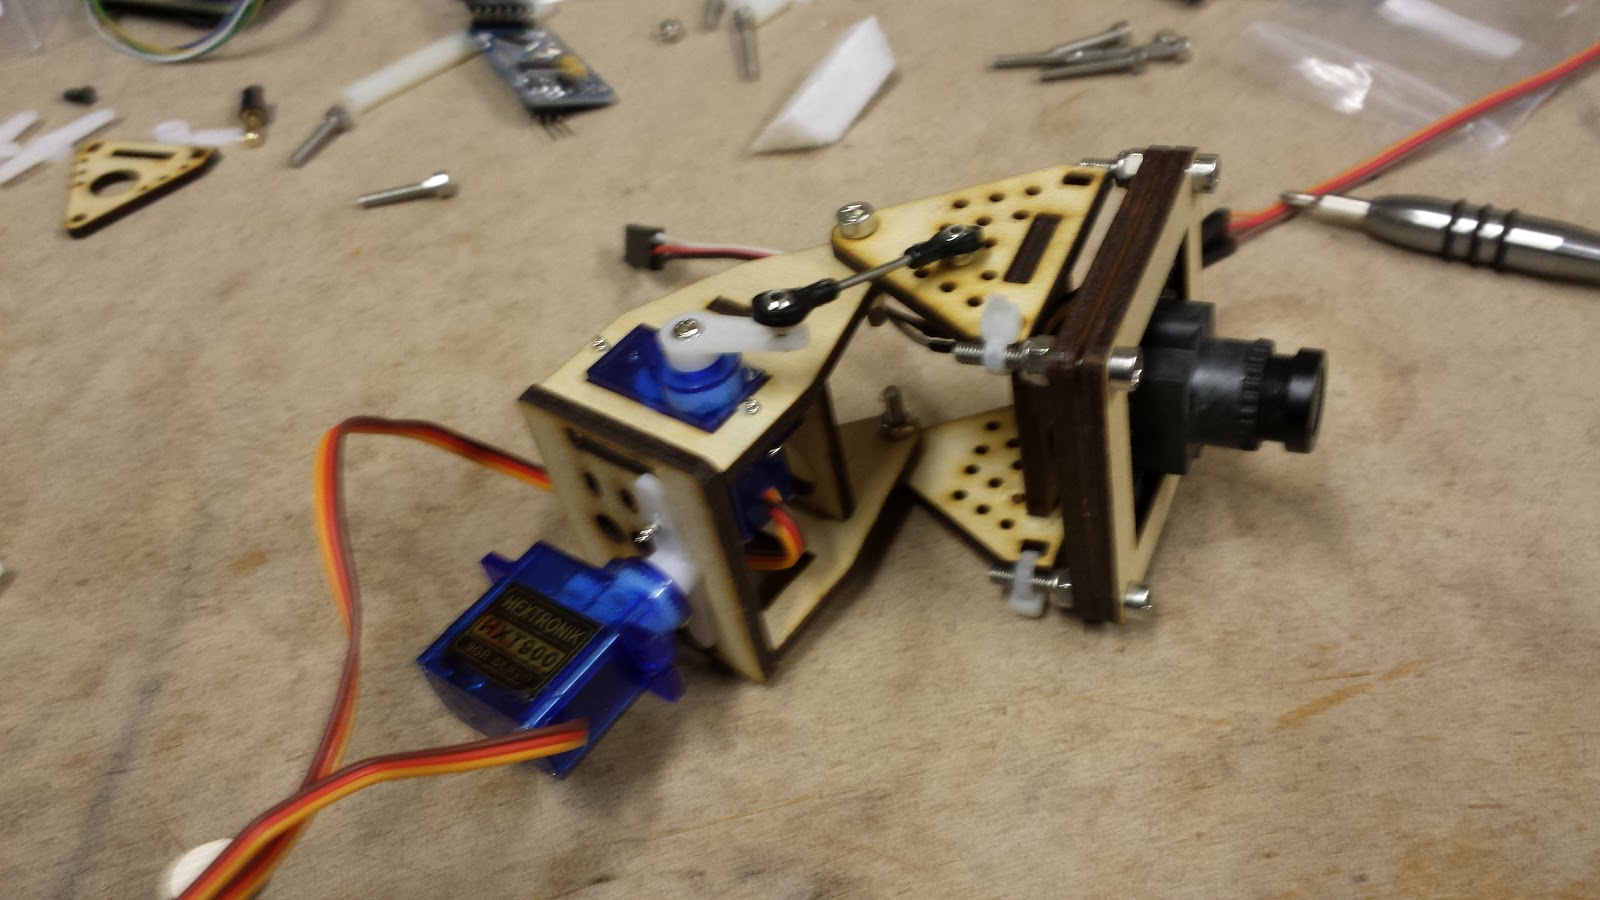
So my first mod was to add a better way to mount items for experimentation.


This turned out to be a really clean look, and worked very well for FPV, even holding 3 cameras.


Until I got cocky... Inverted flight, stock motor, improper balancing... A recipe for a new challenge -a rebuild!


The laser cutter and hot glue gun made the rebuild so much more fun!


With new options for mounting, I decided to experiment some more as well..


After another great landing I had stripped the servo gears for the camera tilt, but pan still worked and flights were generally good.


Eventually I decided I wanted more information on my ground-station as well as to experiment with a flight controller on a plane. So I purchased a cheap APM clone and redesigned the fuselage mount to allow easy access to the room inside.


Adding and moving things around really changed the CG, so I created a lower deck for the battery. This increases my options for larger batteries as well as extra room in the nose.


I have yet to fly this setup yet due to the recent crazy wind. With all this extra drag and weight it'll be interesting to see how it handles. Though I think it would be cool to get up above one of these dust storms..

I plan to squeeze as much life out of the Bixler 2 as I can. In the near future I can foresee a motor upgrade, moving the servos back, and heavy modification of the tail boom (steerable, CF arrow shafts?).

More LED's are definitely on the list too!


Tuesday, November 5, 2013

FT Versa Wing

In the last month I have built a Flitetest FT Versa Wing. I had gotten the rear motor mount as part of a promotion on the kit, but chose to build it as a swappable as well so that I could just pop a power pod from my crashed FT Cruiser on.

I had my maiden flight at our club meeting last month. All went relatively well, I flew it for about 5 min then brought it down. I had it at about 5 foot, stalled it, and plopped it nose first into the ground, breaking the prop. Not too bad!


The plans/kit have an optional pusher prop mount. I could potentially use both a pusher and tractor configuration...


Here's how I packed my electronics in.


I've now moved the motor/prop to the back and am readying everything for FPV. My goal is to modify Flitetest's swappable power pod design to protect my battery and camera.


I had to use extensions to get my servo wires to reach my receiver. I wish I would have considered this a bit more prior to constructing the wing so that I wouldn't have to run the wires out, under the spar, then back in.


There's also a bit of a spacing issue with the vTx. I've cut the foam to fit over it, but I'm not sure how well that will allow for cooling, and may not be final..


I also cut a hole in front of the vTx to hopefully catch a little more air.


I finally got time to fly it, but it was so windy I was only comfortable flying line of sight, though I also had the video equipment up and running for whoever wanted to watch. It was probably too windy even for that...


Wednesday, September 18, 2013

Bixler 2 First FPV!


I finally got to get some FPV in on the Bixler2, but first I had to rebuild it.


I started trying to dig the spar I glued in out with an x-acto knife and quickly realized that wasn't the best way to do it. It occurred to me to try using some hanging wire I had laying around to get underneath and around the spar. This worked perfectly!


I needed to fill the gap I left after cutting out the spar, so I got out the hot knife and cut some extra material out of the box.


Using a scroll saw, I then roughly cut it in strips to fit the gap with the spar in.


My strips weren't quite long enough so I snapped some extra pieces off to fit. Then I quickly applied hot glue, pressed the strip in and removed the spar before the glue could stick.


After the glue cooled I went back and sanded everything down. Good as new!.. sort of!..


As I was contemplating how to fix things a previous hobbyking order came in with these landing gear and highly detailed instructions!


The tail wheel had to be offset a bit since the spar was already in there.


I tried to get the front gear in as sturdy of a place as possible without being too close to the CG


Next, I needed a motor mount. All I had was the stock motor, but want to upgrade in the near future, so I quickly drew up and laser cut this mount to allow me to easily get change out the motor.


I cut the foam where the mount was to be glued flat and glued it on, then also cut a flat spot for the ESC to velcro on, and a electronics bay of sorts to make more room in the nose.


It was getting late for flying so I quickly sealed the bay after putting the wings on with the stock wing screws. Removing the tubes and using velcro to attach the wings is on the list of future upgrades..


I taped on the FPV gear, stuffed this guy into my car, and hurried out to the flying field to give it a go..


I made it out just before it started to rain, and in time to catch some friends out at the field.

Sunday, September 8, 2013

FPV Bixler 2, not yet FPV


I have really only flown multicopters FPV up to this point. Three or four months ago I got to give it a try when a semi-local FPVer had his Bixler at the flying field. It seemed a bit more peaceful that the multicopters, so I decided I ought to add a fixed wing to my hangar.

In general, I had seen good things about the Bixler 2 so I ordered one. I put it together as per the instructions and finally got to fly it without FPV about 3 weeks ago. It flew great out of the box, and the long flight times compared to the multirotors are a definite plus.

After that first experience, I did find it was a bit of a big plane to haul around; especially if you didn't take care to make sure the spar didn't get glue on it during assembly. It barely fit into my dad's pickup cab, and I was curious if it would even fit into my two seater Honda Insight. This started the adventure for looking for mods, and I found I should of done this step prior to assembly.

I was able to fit it into my car pretty comfortably, so I decided I'd try to fly it again last week at our club meeting. This time it didn't go as well. When I plugged in the battery, I the motor just wanted to kick/cog. Thinking the cause had to be bad calibration of the ESC, I tried a couple times to calibrate it. No dice, so I pulled out the ESC to take a look, and found it to be very hot. I then checked the motor and noticed it was so hot it had melted the motor mount!

So, after I got back from the meeting I decided it was time to do some research and tear down.


As you can see I've removed the motor and mount. It's a little rough, but I figure I can just make a cowl to cover it later. I've looked into some motor upgrades and think I can come up with a solution using the laser cutter or 3d printer. Here are a few of the ideas I came across:

http://www.youtube.com/watch?v=krTzT6Ss9W0

http://www.undcon.com/2012/03/24/bixler-motor-replacement/

I've also read that a better wing spar is pretty much necessary if carrying more weight or going any faster than stock. My spar is glued in so I had been debating the best way to get it out. After I had dug out part of one side with an exacto knife, It hit me that the picture hanging wire I had bought recently might do the job if pulled down the spar.


After digging out enough to get it under the spar, It worked beautifully!


I figured removable wings will make the thing more portable, so I'm going to work that into the 'upgrade' as well. This video shows the velcro concept I plan to use:


Now It's time to order parts!

Tuesday, August 27, 2013

Y6 Down again!

I had repaired my y6 in about 10 minutes and was eager to fly this last weekend. It was slightly windy out, but that was one of the things I had hoped my y6 would excel in compared to my quad. What I didn't consider was how my ground station would handle the wind...


I had the y6 in the air and was just getting used to it when the wind started to pick up and pushed over my ground station lid/screen. I had looked up to try to get the attention of my co-pilot/dad to hold the screen but he was busy watching the craft go down..


The damage report:


Scratched the lens, cracked the plastic in front of the LED, and generally beat up the GoPro, but it still seems to work normally.


Snapped the front right and back arms, and tweaked the back speed control mount.


These are the back motors removed. None of the props actually broke, two of them unscrewed themselves and flew off after spinning on the ground. They all got pretty dinged up as well, but will probably still work fine, though I intend to use some new ones and save these as a last resort.


This one received the brushed aluminum treatment.


The top rear motor wasn't spinning as freely as the other motors. This may have only been partially due to the crash though because of one or both of these:

 1. I may have over tightened one of my props on the motor bell in prior testing (It's sort of a no-no to tighten the props to the bell, but I chopped the threads off before I really thought about this..)

And/Or

2. There was some dirt build up on the bearing under the bell. I wonder if this motor had been used before I got it? You can see some hardened blue gunk on the bottom side of the bell and  magnets, and there is on the inside of the bell, as well as some marker like markings on some magnets. I put none of this stuff there.. 

Either way, I went to remove a shim from the bottom, but after wiping the dirt off of the bearing, it looked to have more clearance for the C clip, and after assembly it spun more freely..


After reassembly, I ran the motors a bit to check for bent shafts, but found none. Phew!

Almost  ready to fly again!